Kit
I found an excellent YouTube Video - making beer from kits by the guys at brewuk.co.uk.
I ended up buying the same kit from https://www.the-home-brew-shop.co.uk/ because they had faster customer service (brewuk didn’t respond to an initial email)
Starter Kit: Woodfordes Wherry Microbrewery from the-home-brew-shop for £72 and 10 extra CO2 bottles for an extra £5.
This is one of the most popular starting kits which is a classic bitter of around 4-5%
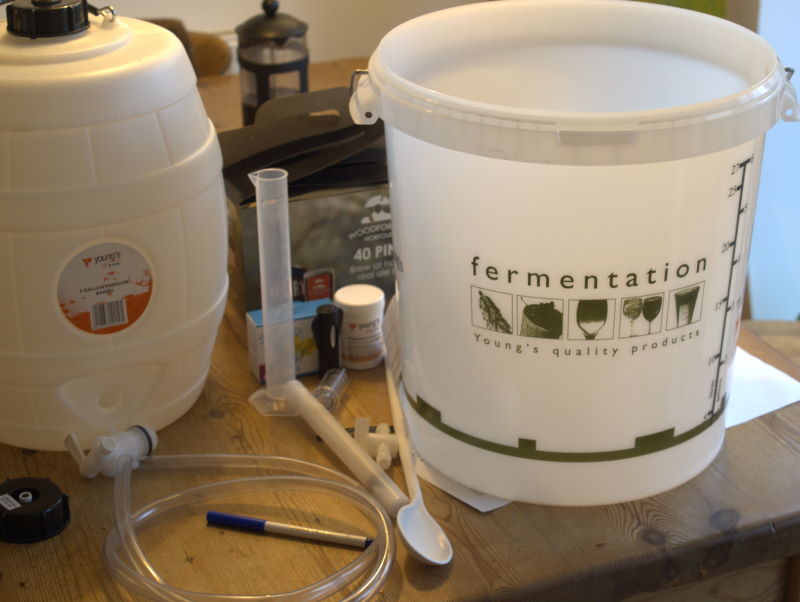
Equipment
- Fermentation bucket (on the right above)
- Pressure barrel (on the left)
- Vent cap - there are 2, we only need the one with a CO2 brass thread
- Black CO2 bulb holder
- Steraliser (100g of Youngs Steriliser)
- Wherry kit (Liquid Malt Extract)
Sterilising
Of all the advice I’ve had on beginning brewing, this is by far the most common. Make sure everything is clean!
In the words of an expert brewer:
To avoid minglery near any of the brewing equipment. The Germans observe a rule called
Schlechtmingelwhich has been in use since the 15th century. This rule has its equivalent throughout the world’s brewing communities today, and is essential for the production of delicious ales. Very important.
Ater reading different methods this is what I did
- Add 10 litres of warm water (from my hot tap) to the fermentation bucket
- Add 5 teaspoons of steriliser
- Put spoon, airlock, and rubber grommit seal inside
- Put on lid
- Shake it up so the steraliser water gets everywhere
- Leave for 10 mins
The steraliser that comes with it is Sodium Metasilicate, which creates SO2, which kills of any bacteria.
How to sterilise homebrew equipment
Stage 1 - Making the Wort
After warming the Hopped Malt Extract tins up for 5 mins in hot water from my tap
I opened them and poured both in and sloshed both out with hot water from a kettle
Then added cold water up to 5 gallons.
Stirred it all for 4 minutes and a foamy head appeared.
This now called Wort
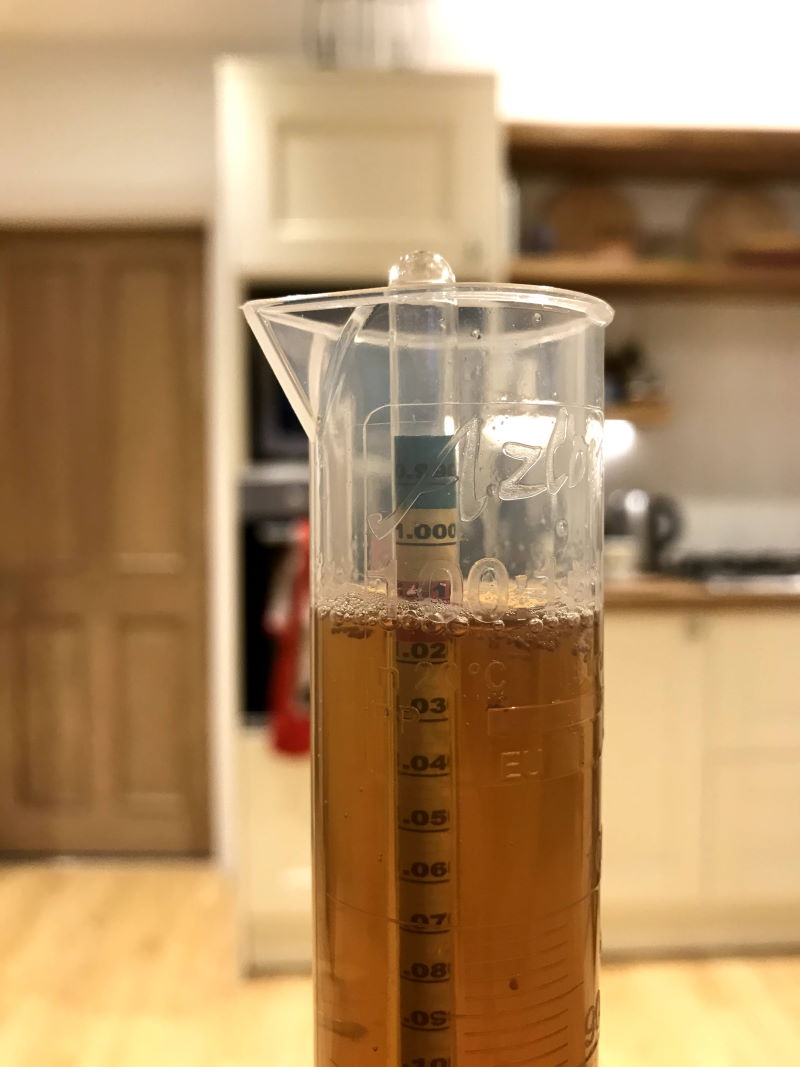
Specific gravity reading
I took a reading (although I read from the base of the liquid which I think is wrong). I didn’t spin the hydrometer which would have got rid of the bubbles. It was around 1030 or 1035.
Add Yeast
I then sprinked (pitched) the yeast over the top (didn’t stir)
Then put on the air lock, which isn’t really necessary, but for me is exciting as I can see when it starts to bubble (also will tell me when fermentation is complete in around 7 to 10 days)
Where to put the fermentation bucket
18-22 degrees is perfect. Not in the sun, nor close to any heat sources.
Note the tray underneath just in case. This is in our kitchen (no big smells yet - interestingly it didn’t smell over the next 10 days) and good fun to keep an eye on.
After 2 to 3 days we should see visisble signs of fermenting.
Update after 2 nights it did start bubbling - very exciting to see it happening. A bubble every 10s or do. The kids love seeing it too.
After 7 Days
After 7 - 10 days (more in hotter weather) the bubbling should stop, and SG should be 1014
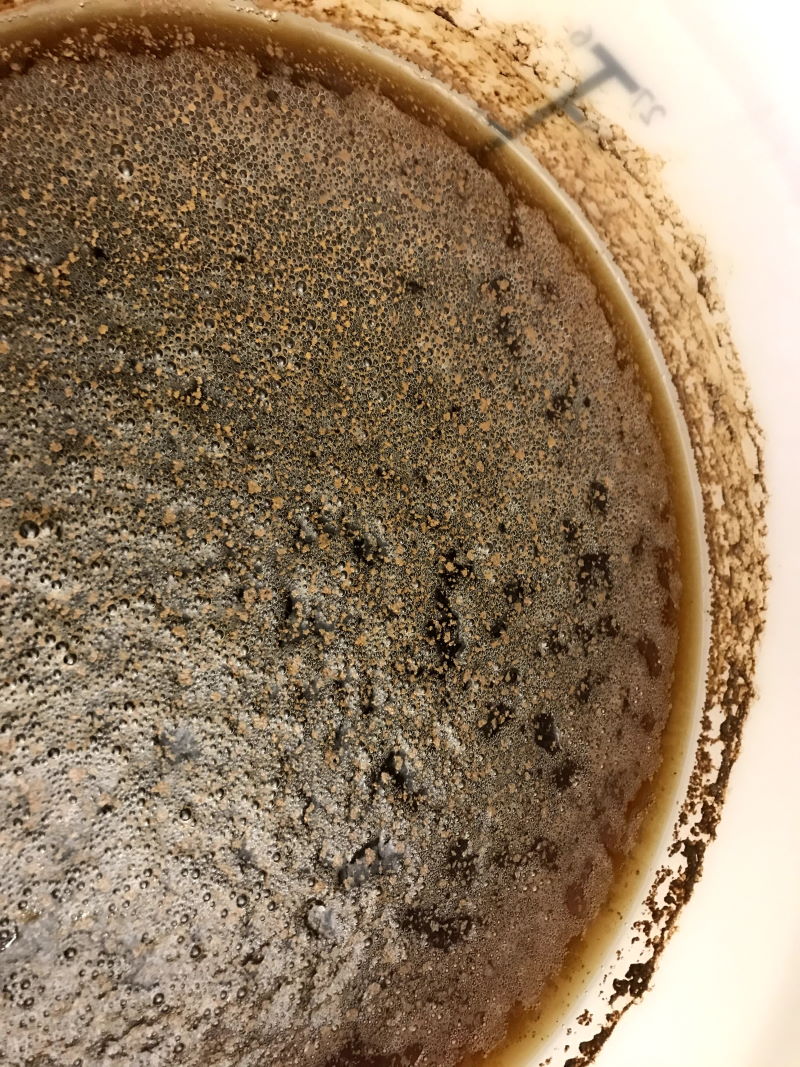
The wort after 7 days
I took a SG reading for fun to see what was happening. The bubbling had stopped by this point.
Read the value from the outer edges of the container.
SG is around 1015 which is perfect to mean is has stopped fermentation. This is what the instructions said on the box. The important thing is it has dropped significantly (which is good.)
Theoretically if we started at 1040, then (1040-1014)/7.362 = 3.5 ABV (alcohol by volume). The next stage will do a bit more fermenting.
I left it a few more days as apparently it doesn’t hurt, and I wanted to be sure the fermentation had stopped.
Stage 2 - Pressure Barrel
After 10 days I went onto stage 2. Firstly I took another SG reading for fun. It was the same at 1014.
Then I:
- Steralised the pressure barrel
- Add 85g of sugar by dissolving the sugar in a bit of water by bringing to the boil
- Syphon the beer from the bucket into the barrel
Top tip is to have a towel down and a bowl so when syphoning it doesn’t get messy. The beer didn’t taste too good - it was very yeasty.
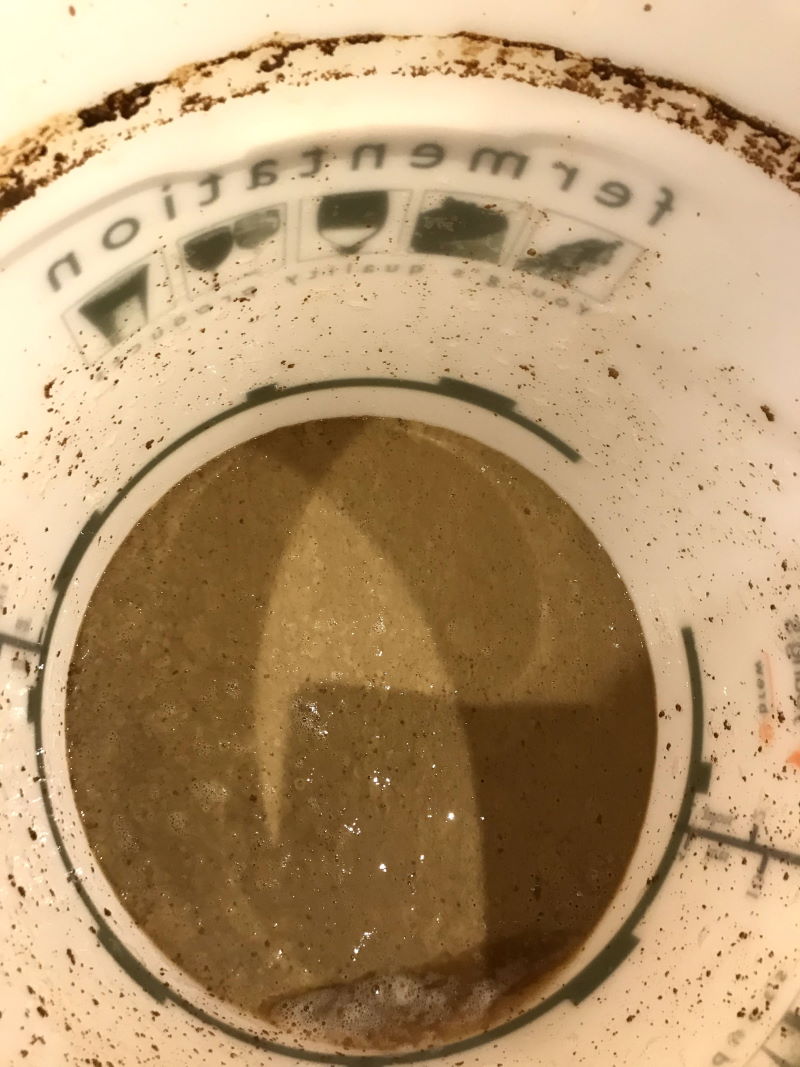
This is what was left in the fermentation bucket!
So now
- Leave for 2 days in a warm place (same as above ie 18-22) to secondary ferment
- Leave for 2-3 weeks somewhere cool (garage perhaps)
I left it in our summerhouse and we’ve had very cold temperatures. -6degrees to a max of 2 degrees during the day. I don’t know how this will affect this stage.
After 2 Weeks in Pressure Barrel
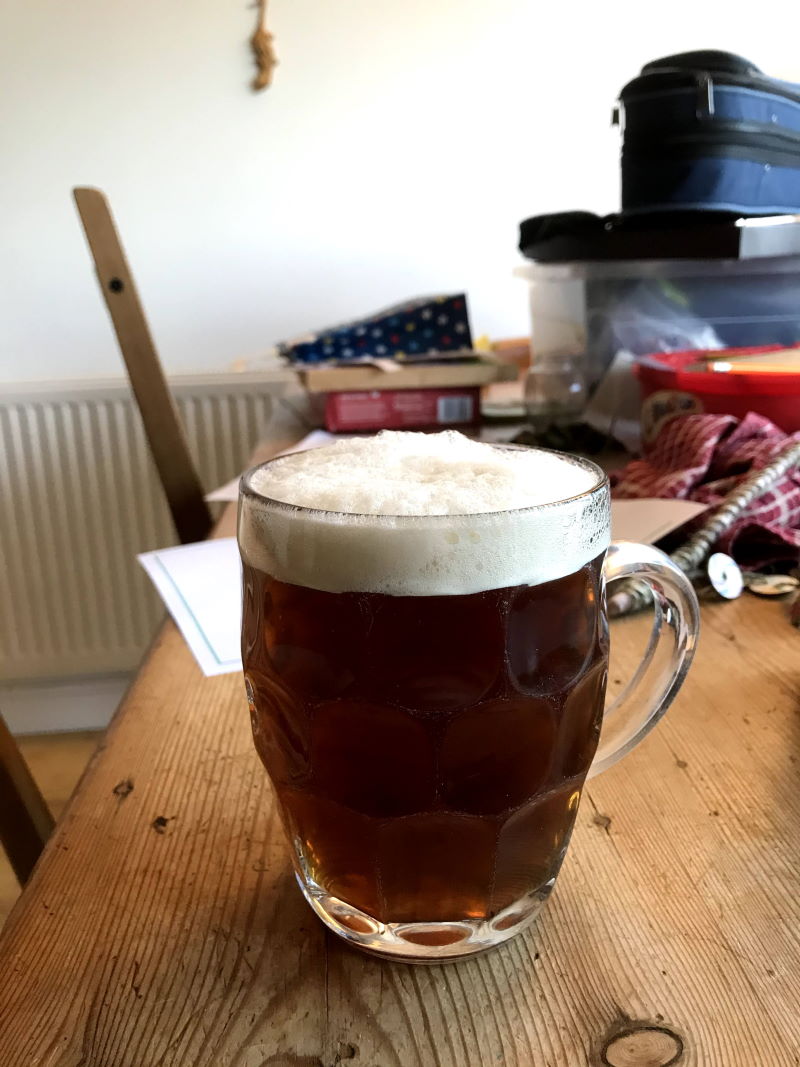
It looks like beer, smells like beer… and tastes like beer.
It is beer!
And tastes good. A very strong flavour, and around 4.5% abv (I think) so a good strength.
I’m going to leave for another week to see if it changes.
After 3 Weeks in the Pressure Barrel
A very nice beer! I had 4 pints and it was very nice. Strength felt like 4.5%, and it was lovely to just sip away at it.
I’ve noticed that after 2 pints the head gets smaller (running out of CO2?). By the next day it is fine again.
I do have extra CO2 from bulbs
Conclusion
A success! Very proud to have made some rather good beer.
It’s great to share the success with neighbours and friends…. after 2 weeks the entire 40 pints have gone
I’m starting the next batch :-)
